
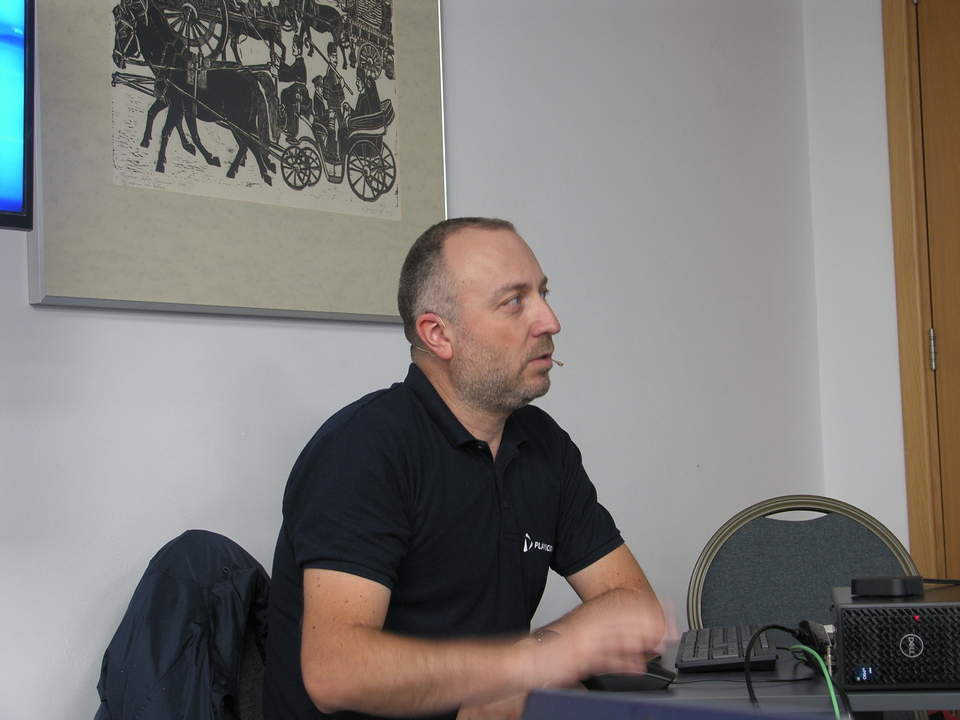
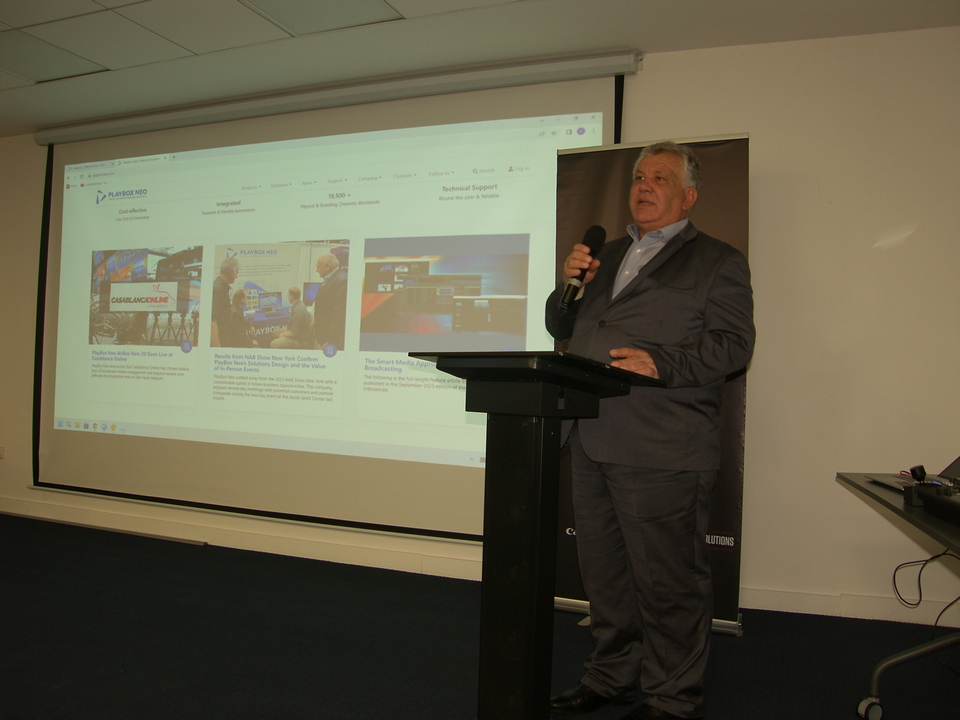
Plamen Chardakliev from Playbox Neo, Bulgaria, presented PlayBox Neo’s smart media solutions at the International Exhibition and Conference Broadcasting / Cinema / Pro AV 2023 Azerbaijan, which was held on November 21-22 in Baku, Azerbaijan.
Plamen Chardakliev: The AirBox playout is the interface for playout operations. Some of you might be familiar with it, while others may not, but it’s important to note that this is where the playout operator works. This interface has been well-known for over 20 years, and we’ve maintained its consistent design for familiarity. At its core is a playlist in an Excel sheet style. As most people are familiar with Excel, they’ll easily understand the rows and columns layout.
Key Features of the AirBox Playout Interface
I’ll highlight a few of its key features. For instance, if you need to add a channel logo, that’s straightforward here – you can integrate the logo directly into the layout without needing additional CG (Computer Graphics). However, if more graphics are required, you can use our TitleBox, which I will demonstrate shortly.
In the playlist – I’m referring to the playouts here – you can include various file types like MXF, MPEG, MP4, MOV, and other globally recognized formats. These can all be mixed in the same playlist, allowing for different video standards and frame rates. The playout system will automatically convert these to match the designated output formats.
There’s also a built-in clip trimmer. If you receive a file with a five-second color bar at the beginning and don’t have time for a full edit, you can simply open it in the clip trimmer, locate the exact starting point, edit it, and that’s it.
Introduction to the Media Gateway (Engineering Aspect)
Let’s leave this playing for a second. Now, I’ll show you the interface for the engineering aspect of the playout. This is what we call the Media Gateway. It can function as a standalone product, but it’s included with the playout system. This is where you manage all the engineering inputs and outputs. As you can see, there’s a built-in alarming system. You can monitor all your inputs here. For instance, this is the playout output, this is the SDI, and here I have a loop. You can receive SRT and UDP signals, among others.
Let’s proceed. Notice, currently there’s no signal for the second player. If I open the playout, hit pause, and wait for five seconds, you’ll see a “freeze detected” alert. This indicates a problem, which can often be resolved simply by resuming playback, without needing further intervention.
Alarming System and Signal Detection
We have developed an alerting system that, quite effectively, detects issues such as black screen or output freeze. This system includes judicious thresholds for minimum and maximum decibel levels and mute detection. The default setting for these alerts is five seconds, but you can adjust this duration to be faster or slower according to your needs.
Input and Output Support
Now, let’s move on to the input and output section. For inputs, we support NDI, Blackmagic, AJA (for SDI). Similarly, for outputs, we accommodate NDI, Blackmagic, AJA (for SDI), and various streaming protocols like UDP, RTP, SRT, RTMP. We also offer Zixi integration with Zixi interface support.

Recently, we’ve integrated encoders within the Media Gateway. Currently, I have one encoder set up. Let’s review its specifications: you can set a multiplexer frequency of 12 megabits, input service information, and BIDs for visual codecs. I’m using H.264, supported by my NVIDIA card, which facilitates the encoding process. While CPU encoding is an option, GPU-based encoding is generally more efficient due to the ASIC chip inside for H.264 encoding. We also support H.265 HEVC encoding with NVIDIA cards. You can adjust the group structure, bitrates, and choose between constant and variable bitrate, among other options.
For audio, we’ve recently added support for Dolby Digital and Dolby Digital Plus. This means that for IP outputs, we support Dolby Digital and Dolby Digital Plus, along with AAC and MPEG too, of course.
Switch Groups and Automatic Changeover
Additionally, we now support STT5 on SRT or UDP outputs and inputs, and also STT4 on SDI input and outputs. I’ll demonstrate how these can be used in a moment. So, looking at the encoder, I can choose my AirBox as the visual source, or I could use an SDI signal, SRT, or UDP signal as the source for my encoder. Moving to destinations, I have SRT and UDP output, and both use the same encoder. This means you don’t need to perform two separate encodings if you require the same bitrate and group structure for both outputs. The encoder is designated for both my SRT and UDP output.
If I switch the input to my SDI signal, it functions like an SDI to SRT or SDI to UDP converter. This eliminates the need for an additional I/O device – it’s all integrated within this interface. Think of the Media Gateway as a versatile video router, not just a component of the playout system. It handles not only SDI video signals but various signal types, allowing for mixing and converting.
Regarding outputs, if I have a Blackmagic card, for instance, I can select my SRT source as the input for my SDI output, effectively converting SRT to SDI. While this conversion is often handled by third-party applications or devices, the Media Gateway allows you to do it directly. In addition, in the streaming tab, alongside the encoders, we have switch groups, which I will explain shortly.
On my switch group, it essentially functions like an automatic changeover device built into the Media Gateway. My main source is an SRT signal, and my backup is a UDP signal. Let’s consider a real-life scenario: you’re broadcasting a football match from the United Kingdom, the Premiership, via satellite. As a backup, you have an SRT signal over public internet. Normally, the satellite signal is preferred due to its dedicated nature. However, if a thunderstorm disrupts the satellite reception, you might encounter signal issues. Meanwhile, your internet stream (the SRT signal) remains stable. Instead of switching manually, the switch group can automatically handle the transition. You have the option to switch between backup and main sources manually, of course. But, returning to the alarming system, which detects freezes and no-signal scenarios, it can be integrated with the multiviewer to automatically switch sources in the switch group, eliminating the need for manual intervention.
Back to the switch group settings, you can configure it based on the existing features in the multiviewer. It’s also possible to set minimum and maximum bitrate thresholds. If the signal drops below seven megabits or exceeds nine megabits, for example, it will automatically trigger a switch between the main and backup sources.
This functionality applies not only to outputs but also to inputs, which I will demonstrate in a few moments. I also want to highlight our Transport Stream (TS) time delay feature. Previously a separate product, it’s now integrated into the Media Gateway. You can set up a delay of 30 seconds, as in my demonstration, but it’s adjustable to minutes, hours, or even days. This is especially useful for broadcasting across different time zones. For instance, if you produce a morning show in Africa and wish to broadcast it later in Latin America, you can set a delay of several hours. Our customers also use this feature for network censorship, delaying the stream by about 20 seconds to allow for real-time content review.
Currently, I’m using the encoder as my source for delay, but, just like with the switch group, I can choose from SRT, UDP, or SDI signals as my delay source. This flexibility allows for a variety of broadcasting and content management strategies.
Transport Stream (TS) Time Delay
Returning to the multiviewer, you can observe the 30-second delay on the same source. This delay is evident when comparing the SDI input, which is almost instant, with the SRT and UDP inputs, where a few seconds delay due to encoding is expected. This integration of all inputs into the multiviewer makes the process convenient, especially for the ingest, which is also part of this unified interface.
It’s important to mention that we’ve utilized a web browser interface for this system. The development of this product coincided with the onset of the COVID crisis, when the demand for remote work solutions skyrocketed. A browser-based interface was chosen for its universal compatibility, as nearly every smart device, regardless of its operating system (Windows, macOS, Android, Linux with graphical environment), can support a web browser. This means the interface can be accessed from any device.
Focusing on the ingest feature, it allows you to select any of the available sources from the module. You can choose from the delayed feed, the switch group, or any other input as your source. Ingest can be done simultaneously in two formats. For example, I can select MP4 using GPU for encoding as a primary source and Sony XDCAM preset as a secondary source. The first will create an MP4 file, perhaps for a website, and the second, an MXF file for archiving. During manual ingest, I can perform a split. This action creates a continuation of the ingest in a new file while still allowing access to the files for preview during the ingest process.
When ingesting, say, a concert, you can insert split points to mark different songs, generating metadata files. These files, when imported into editing software like Adobe Premiere or EDIUS, show these markers on the timeline, aiding editors in navigating the video material.
Storage
Regarding storage, customers often ask if they can directly store ingested files on a network drive. While possible, it’s important to note that this method relies heavily on network stability. Any network glitches could cause issues. We recommend using our built-in transfer system for reliability. For example, after ingesting a file, even while continuing with split files, you can select and transfer them to a chosen destination. This can be done manually or through predefined transfer templates.
With regards to our ingest feature, you can set it to automatically transfer files to a specific archive upon stopping the ingest. This includes both MXF and MP4 files. In addition to manual mode, there’s also a schedule mode and a complex recording mode, which is particularly useful in countries that require broadcast content to be stored for a certain period (like three or six months) as proof of what was aired. This mode embeds the channel’s name, date, and time into the file, which is crucial for reviewing in case of complaints about broadcast content.
Thus, our ingest system, as I’ve described, is integrated within the same interface as the playout and Media Gateway, providing a comprehensive and efficient workflow.
Using STT Triggers for Switching
Now, let me demonstrate something I mentioned earlier: the use of STT triggers in conjunction with our playout system. I’m going to start a second instance of the playout on the same PC to show how you can utilize STT triggers to make a switch.
In a moment, I’ll use an SRT source to transfer the signal, but this functionality is also available for SDI. I’m going to build two special playlists: one called “DPI in” on the left side, and another called “DPI out” on the right side. I will start playing the “DPI in” playlist here, and over Live SRT, I will play the same source. You will notice that the SRT source playing here has several seconds of delay because of the encoding.
Now, this bookmark here is programmed to send an STT trigger with the event ID 101. I also have a bookmark labeled C 101. When the system receives the signal, it will automatically switch from the Live signal directly to this bookmark. Let’s imagine this is our commercial break. You’ll see that when the signal is sent, we automatically jump here to this bookmark. The second trigger is a command to return us back to the Live program in seconds. As you can observe, it automatically jumps back to the left side where I’m playing the Live feed again.
Consider this scenario in the context of a main television layout. This is particularly useful for different country playouts. You’re playing a program, but you need to insert local commercials. These triggers can be utilized so that when the commercial break starts on the main playout, the signal is automatically received, and the switch is executed.
Real-Case Scenario
Let me provide a real-case scenario: About six or seven months ago, a customer from Latin America, involved in broadcasting volleyball, was shooting in a volleyball venue. As you may know, volleyball games have short timeouts, typically one minute, and this is the moment when commercials are usually inserted.
This customer assigned these STT triggers to the ‘short box’ area of our interface, which includes these buttons. He manually sent the triggers using the playout interface to the television, which then automatically started the commercial break on the TV. This is crucial because, with only one minute for timeouts, fast reaction is necessary to ensure commercials are played. This is a real scenario where our customer utilized these automatic triggers instead of relying on manual communication methods like phone calls.

Again, maybe you recall, I demonstrated playing a file which, upon completion, sends event ID 100. So, C 100 would be my jump back to this bookmark after the signal is received, and it will start playing the local commercials.
And let me just show you: When we receive the signal, you can actually assign up to 16 different commands of what you want to do: play, stop, show wobble, hide wobble, jump on a bookmark, and more. It’s customizable, allowing you to create your own workflow. I want to reiterate that we support both IP for SRT and UDP STT 35, and also STT 104 for SDI, both on inputs and outputs. Let’s stop this demonstration now.
TitleBox Character Generator (CG) Showcase
I also want to showcase our TitleBox, which is our CG (Character Generator). It can either be a standalone product or part of our ChannelBox. Its output can be overlaid directly on the playout, as I will now demonstrate, or it can provide a key and fill outputs, allowing you to attach it directly to your video switcher. Let me just load a playlist to show what you can achieve with our TitleBox. On the left side, you see objects, images, and text objects. I can even play a Live source. For instance, let’s say you want to create a picture-in-picture effect but don’t have a video switcher for that. You can actually use our TitleBox to accomplish this. This trigger here, labeled ‘news world’, sends a command to the TitleBox to act on this template. And if you look back at the TitleBox, you can see I have slides. This is my first slide, where I’ve combined different objects, including video squeeze from the playout and L-shaped graphics from the CG.
This overview of our TitleBox should give you an idea of the capabilities and versatility it offers. Thank you for your time and attention!
II International Hybrid Exhibition and Conference Broadcasting / Cinema / Pro AV 2023 Azerbaijan was held on November 21-22, 2023 in Baku.
The next Broadcasting / Cinema / Pro AV 2024 Azerbaijan conference will be held on November 19-20, 2024 in Baku, Azerbaijan.


